When choosing components for your shower, start from the ground and work up. Sometimes you'll find the shower that works best for you is an all-in-one package, but other times you may need to purchase components separately to build your own kit. Consider a base, walls, a shower door, a shower faucet and a showerhead—you'll have a variety of options to choose from for each.
Think of what size and shape of shower base works for your bathroom and whether you need a centre or off-set drain location. The base needs to be compatible with the shower location—corner, alcove or wall—because the flange on the base’s edge, which helps keep the water in the shower, needs to be against a wall.
Common options for shower walls include smooth acrylic, patterned acrylic (usually with a tile pattern) and fibreglass. Keep in mind how high your walls need to be and remember they can be cut. The wall height should match that of any glass components such as panels and doors.
For shower doors, you can choose the way it opens (swing or sliding), framed or frameless glass, glass thickness, hardware finish and glass height.
Consider finishing touches such as shelving, and the showerhead and faucet. Many shower kits have shelves moulded into the wall. Where this isn’t the case, add shelves to keep soaps and shampoo within reach. When selecting your shower accessories, always try to get the same metal finish as you selected for your glass components.
Assembly instructions
Now that you've selected all your elements, it's time to put the pieces together.
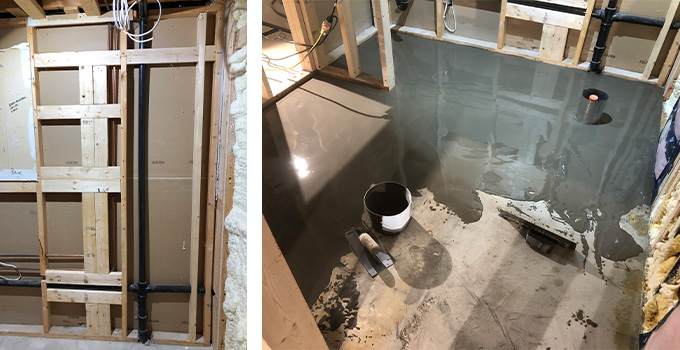
1. Open up your walls to add wood blocking where your glass and shelving will be attached to the wall. Because glass has a lot of weight, wall anchors will not be enough. Make sure you take notes or photos of where you added blocking.
2. Locate drain and water lines and water valves. Contact a plumber to ensure your plumbing is in the correct location and adjust it now if needed.
3. Level your floor. Learn how to prepare your floor here.

4. Install shower base and drain according to the instructions. Your base may need to be installed directly to your studs. Its edges have to be level in all directions.
5. Install tile backer and drywall. A tile backer, or cement board, is a water-resistant material that is ideal to use behind any shower walls instead of drywall. Drywall around the remaining visible walls.
6. Mud, prime and paint, making sure to mud the seams between the drywall and tile backer so there is a smooth finish between the two.
7. Install shower walls. Cut a hole for the shower faucet. Using a tub surround adhesive, like PL700, add glue to the back of the shower walls and lift into place, ensuring they are straight. Let dry for at least 24 hours so they won't shift when you install the glass. 
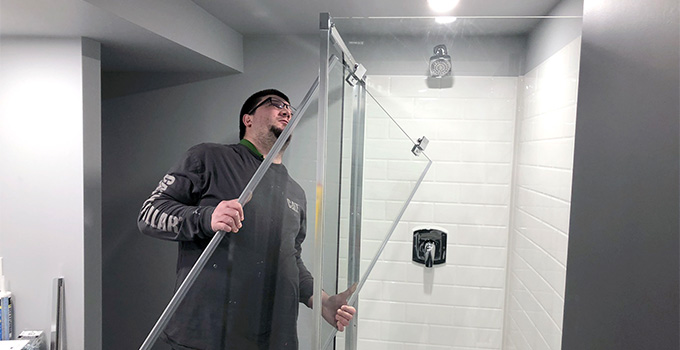
8. Follow the manufacturer’s instructions to install the shower glass system. Use long screws for screwing the glass brackets into your blocking. Take your time to level, plumb and square everything up for a professional finish.
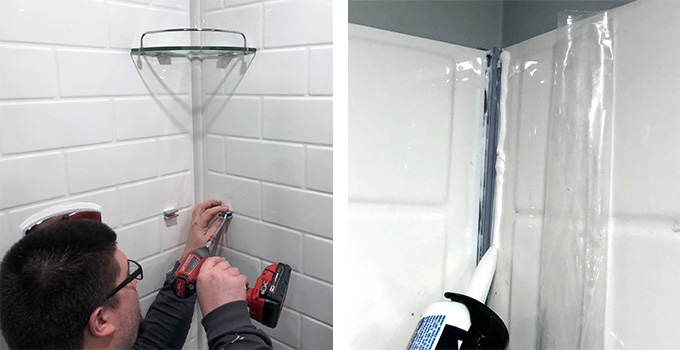
9. Using your notes on where your blocking is, attach your shelving accordingly.
10. Attach your showerhead and faucet. You may need to adjust the depth at which the faucet is placed. Sometimes shower faucets are pre-configured for thicker wall assemblies that use drywall and tile instead of tile backer and thin acrylic walls.
11. You'll need to silicone every edge where water may be able to get out of the shower, including behind the shower. Use clear silicone on the glass and possibly a paintable white on the shower walls' outer edges. 
12. Shower kits are an effective solution to many bathroom renovations. With proper planning and a solid understanding of how they go together, your next project can be a success!


